Nowadays, more and more entrepreneurs are taking their already existing business online or starting a new online business. Starting an e-commerce store is beneficial to any kind of business owner- Small, medium or large. Once you have your goods and suppliers, you can start selling your products by Create Shopify store Dubai.
Setting up an e-commerce store is not an easy process as it involves many difficult procedures. But don’t worry!!! Now Shopify is the best e-commerce platform through which you can set up an online store in a much easier way. Shopify has everything you require- from Create Shopify store Dubai to shipping and payments.
Shopify is popular for its user-friendly experience which makes building a Shopify store an easy process like never before. Let’s look at this step-by-step guide on how to Create a Shopify store Dubai from the experts of Shopify in UAE.
1. Create Shopify Store Account
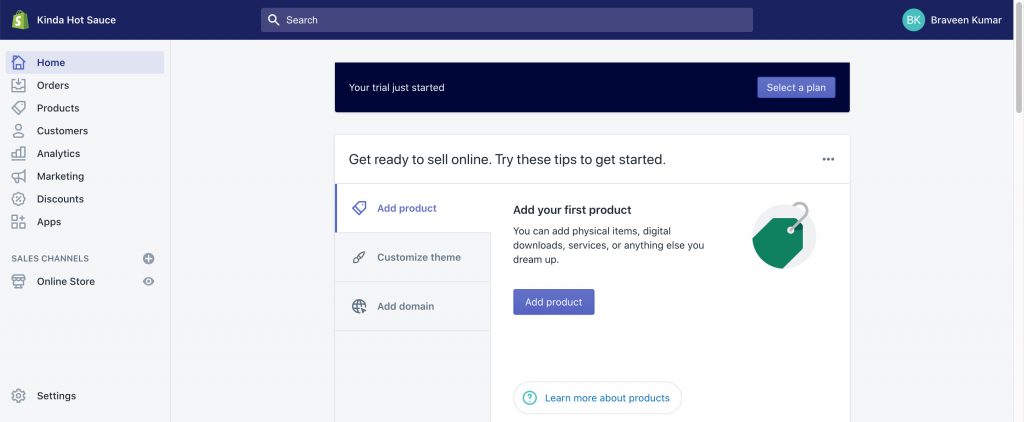
First, go to the Shopify homepage, from there you will be redirected to the local edition of Shopify.com depending on your location. There you can see the option to start your free trial. When you start your free trial you need to provide a store name that will become your URL, so make sure to choose a name relating to your business suggests the Shopify experts Dubai. You require to provide personal contact information as well as information about your business such as revenue, goals, billing details, etc
2. Add Your Products
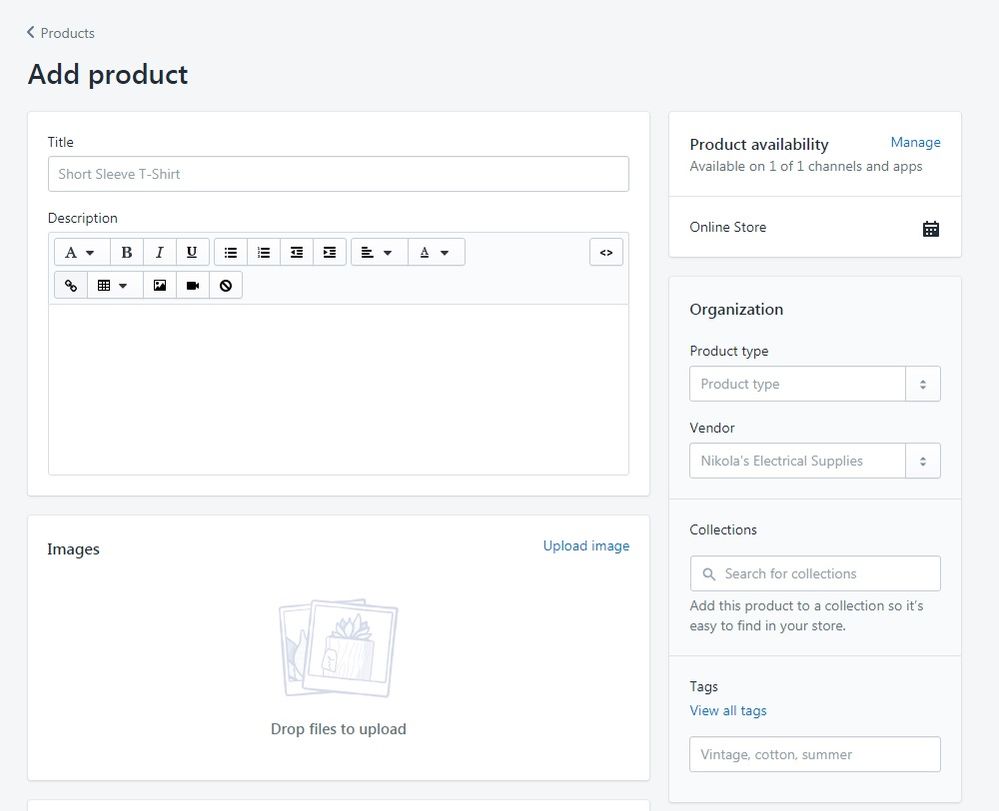
Your online store will be without products to sell. So once you create your account adding the products should be the next step says the leading Shopify designers Dubai. On the left side of the admin panel select, Products → Add Product to list the products. You can add product name and description, product images, price of the product, the quantity of product and shipping details. You can also add different variants of the same products according to size, colour, etc. There is also an option to customize how a page appears in search engine results. There are also options to enter product availability in which you can add sales channels, product type, vendor name, tags- keywords related to products and collections. To add a product to a particular collection, you first need to create one by following the steps: Products → collections and filling in the details. Collections let you organize products into specific categories.
3. Creating Essential Pages

Leading Shopify experts say that your online store requires products to purchase but also some essential details that will make you appear more trustworthy. Some of the key pages are the contact page, about page, FAQ page and policy pages. You can create these pages by accessing Online Store → Pages. Under Settings → Legal you will be able to generate templates of the Return Policy, Privacy Policy, Terms of Service and Shipping Policy and you can customize them according to your business requirements.
4. Customize Your Shopify Online Store
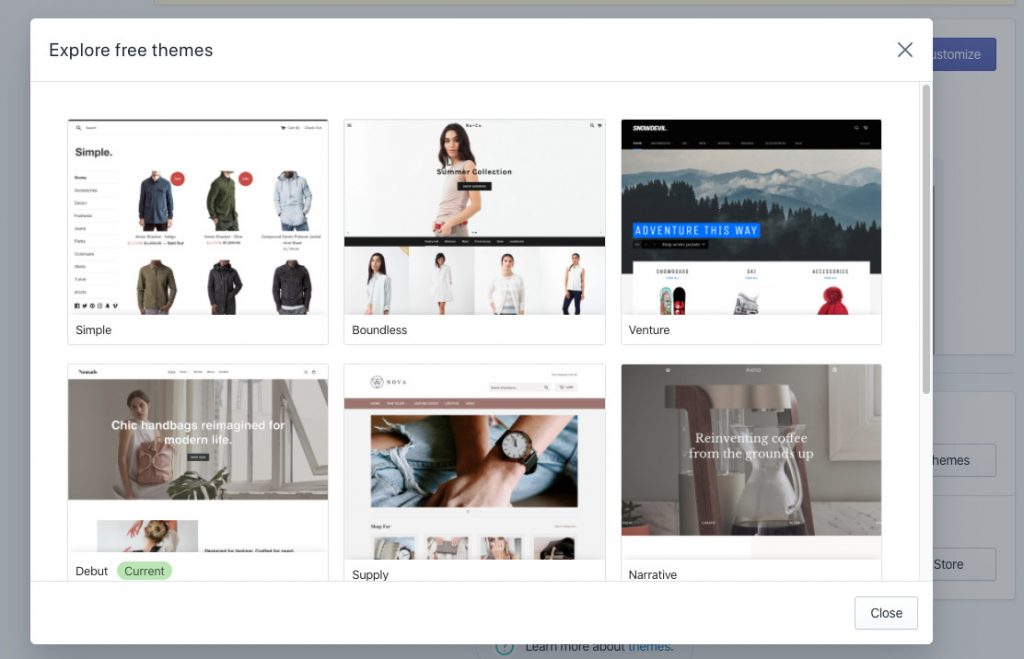
The next step is to decide how your online store website is going to look like. Go to Online Store → Themes to access the Shopify theme store and where 100+ free and paid themes are available. Each theme has different styles and features suitable for different types of businesses. Choose a theme that will be a good representation of your products. You can also try out a paid theme once for free before making the purchase. If you want to change your current theme and reinstall a new one, you would be able to do it without needing to change products or pages explains the prominent Shopify developer Dubai.
After deciding on the theme design of the homepage. You can rearrange, add or hide sections in the theme. Design the homepage only the essential information will help to redirect the visitors to inner pages and help in the sales of the products.
Next, you need to set the header and footer section, navigation menu and search bar for the online store. Include cart, logo and navigation menu in the header section. Add only the main navigation paths in the top navigation menu. Policy pages and contact pages can be added in the footer section.
Under Theme Settings, you can set colour, fonts and customize how the checkout page will look. To customize the working checkout, select Settings → Checkout and select the required choices.
5. Set Up the Shipping Details
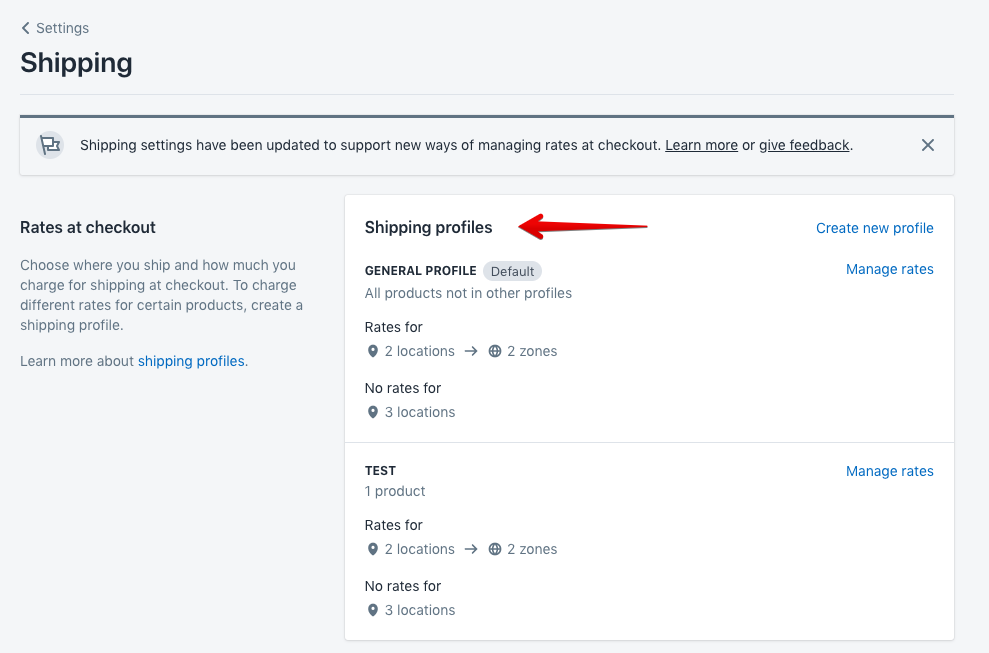
Specialists of Shopify Dubai explain that product weights, packaging costs, shipping destinations, carrier rates and profit per order are some of the details to consider essentially. Under Settings → Shipping, you can set various shipping zones/ countries and shipping rates according to them. Add rate button is available to create specific shipping rates.
6. Set Up the Tax Details
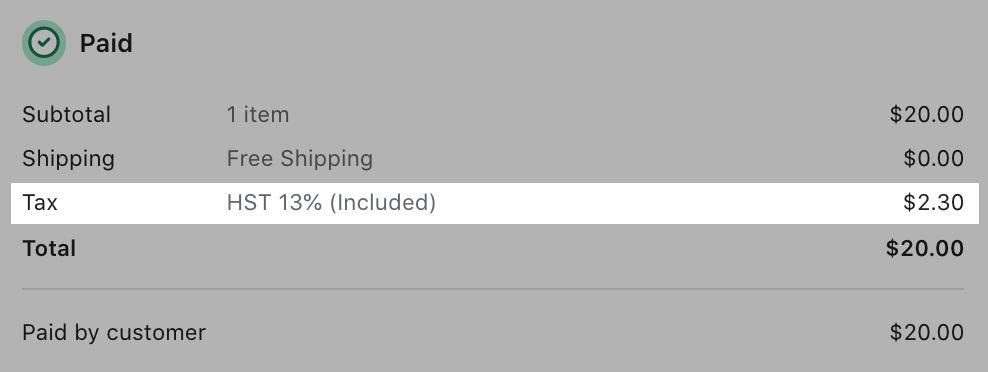
With Shopify, you will be able to most of the tax calculations, but it is better to make good research on the tax specifications. Accessing Settings → Taxes, you can make changes in default tax settings and rates and set tax regions.
7. Set Up the Payment Gateways
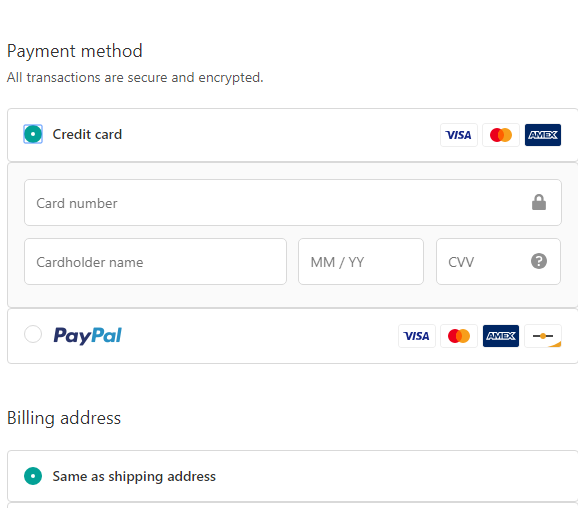
Next is to decide how you are going to receive payments from the customers. To set up payment providers go to Settings → Payments. Shopify Payments is one of the payment providers and it accepts all important payment types with 0% of the extra transaction fee. But you have to make sure you are from one of the supported countries. Providers of Shopify development services, Dubai explains that there are 100+ 3rd party payment provides such as PayPal as additional options. Under Settings → General you can set the currency in which you sell the products.
8. Pre-launch Steps

Before going live with your store you need to go through some steps. But you can also revisit them after the launch of your online store. The steps are:
- Adding a Custom Domain: A custom domain replaces the default URL created. One can buy a domain via Shopify under Online Store → Domains or through an external hosting website.
- Adding Extra Sales Channels: Install additional sales channels to connect with customers from anywhere. Relevant sales channels are Shopify POS, Social networks (FB, Instagram, Pinterest), Market places (Amazon, eBay), listing products free in the Shopping tab of Google, etc.
- Custom Notifications: Under Settings → Notifications, custom e-mail/ SMS notifications can be created to interact with customers about order confirmation, status updates, etc.
- Setting Up Store for Marketing: Under Analytics → Reports, you can analyse reports on sales generated, traffic, store conversion rate, etc. which is essential for improving the business. You can make your products appear top in search results with the right practice of SEO and you can set the details for it while adding products.
9. Launch your Store
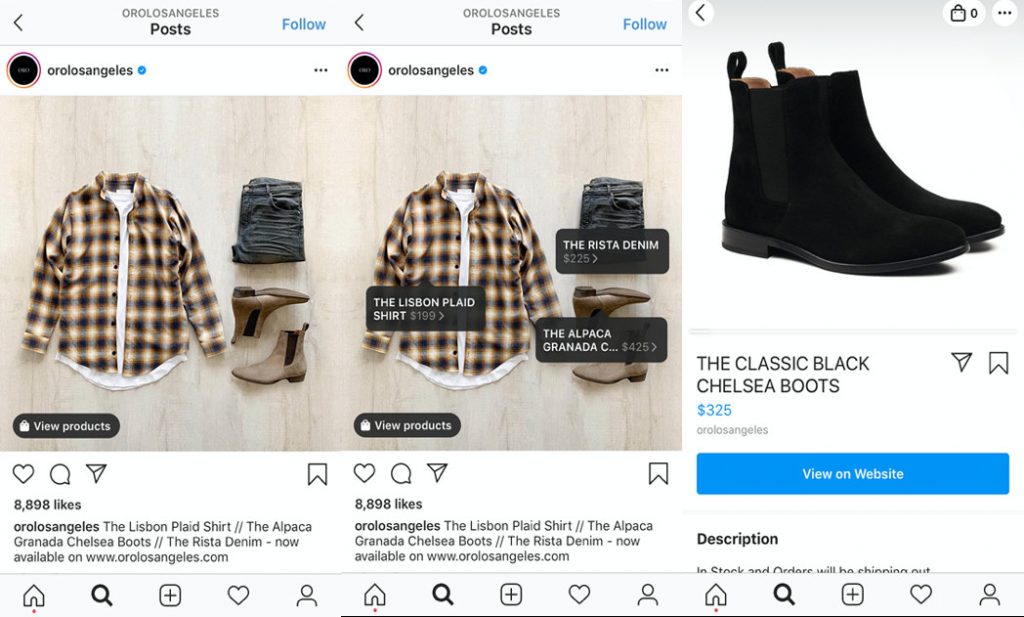
Now finally you can launch your online store and start selling products. But before that, you have to remove the password protection so that everyone will know that open for business. For that, go to Settings → Preferences.
Create Shopify store Dubai
We are the leading e-commerce website designing company in UAE that provides an entire range of e-commerce solutions with Shopify. Our services include everything from Shopify Store Setup, Theme Customizations, Shopify App Development, Shopify Marketing and Support. For more details, visit: https://www.expertsinshopify.com/ or call: +971 50 708 0116.
Also Check Out – Best Performing Shopify Store’s Mobile Commerce Practice: Tips From A Partner in Shopify Store Development


