A simple and flexible website is vital for drawing customers and raising income in the online shopping world, which is changing fast. Shopify Hydrogen offers a cutting-edge approach for developers aiming to build bespoke storefronts with React components, whereas Shopify Oxygen supplies the hosting required for their deployment. This editorial will offer a comprehensive, sequenced manual for configuring a Shopify Hydrogen interface and deploying to Shopify Oxygen using GitHub CI/CD practice.
Getting Started: Setting Up Your Shopify Hydrogen Storefront

Step 1: Accessing Shopify and Creating Your Storefront
- Sign In to Shopify: Navigate to the Shopify pricing page and sign in to your account.
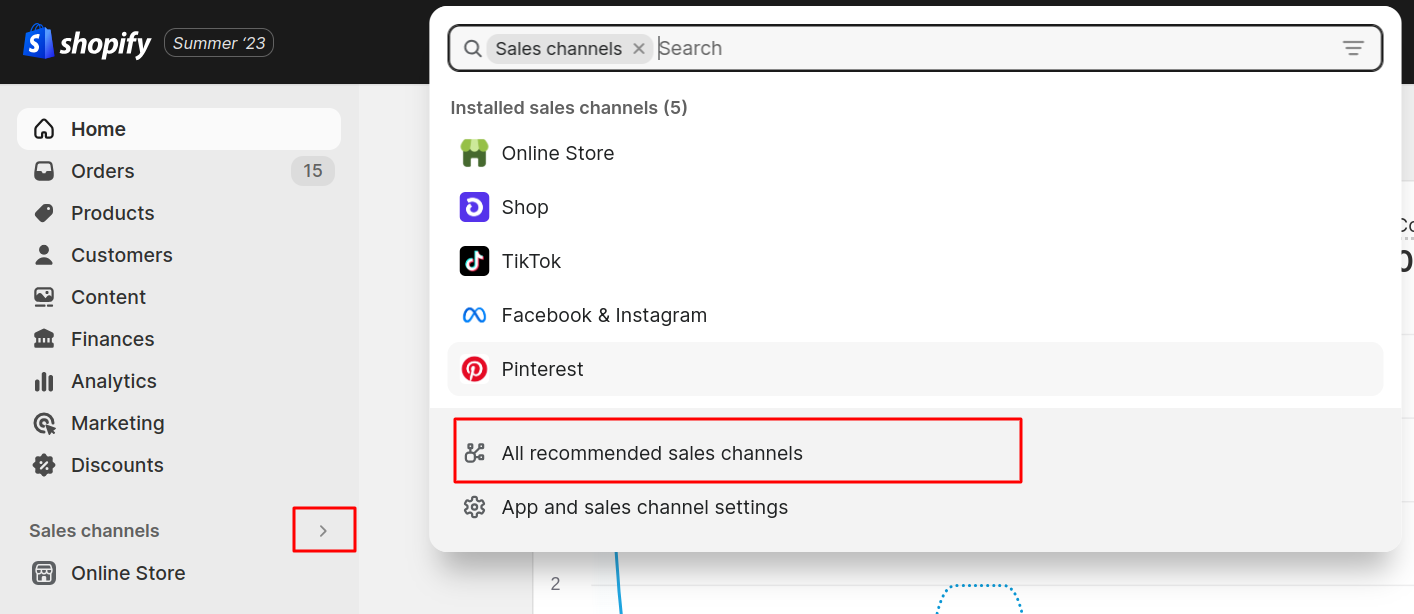
- Add Hydrogen as a Sales Channel: In your Shopify admin panel, under Sales Channels, type in “Hydrogen” and follow the prompts to add it.
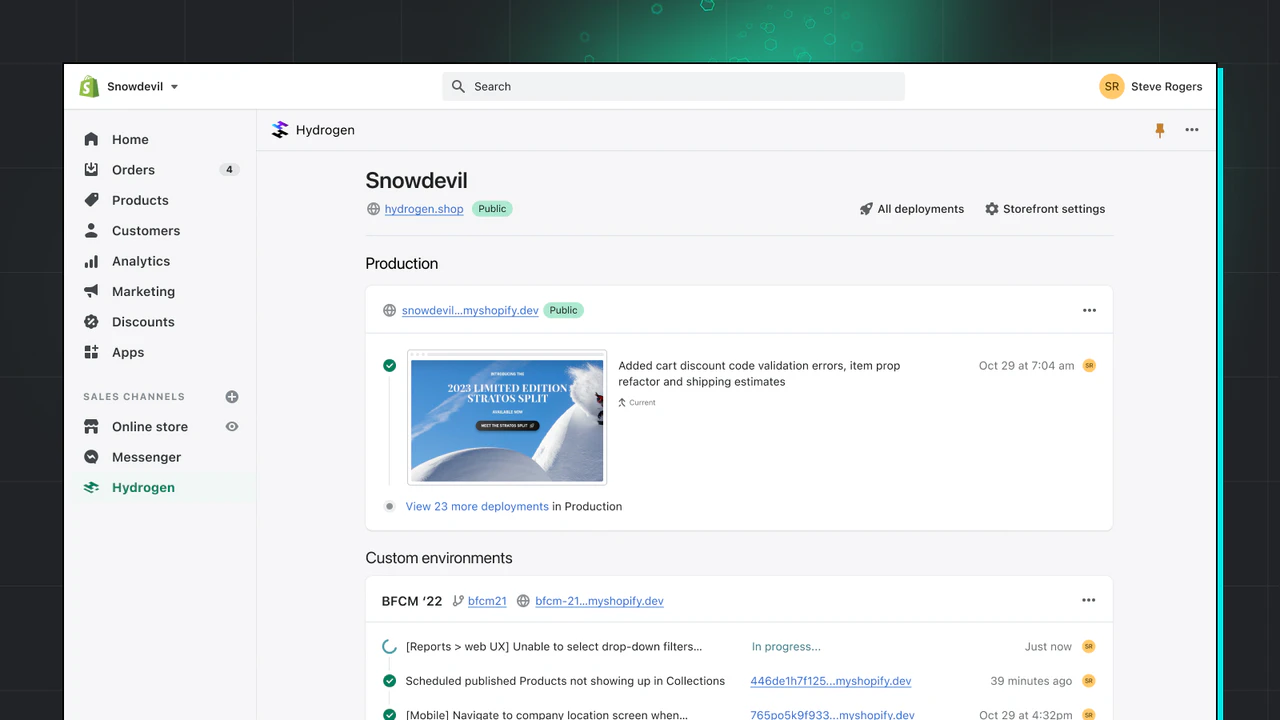
- Create Your Storefront: Click on the Hydrogen channel and click on the button to create a storefront. You’ll need to provide a name, and for the purpose of this tutorial, we can use something like “Custom Headless Hydrogen.
- Select Deployment Options: Choose either to set up Continuous Integration and Continuous Deployment (CI/CD) or opt for manual deployments later. CI/CD allows automatic deployments with GitHub pushes, simplifying your workflow.
Step 2: Setting Up the Development Environment

Once your storefront is created, it’s time to set up your project:
- Open Your IDE: In your chosen code editor, open a terminal in an empty folder where you’d like to create your project.
- Install Hydrogen: Run the required commands in your terminal to install the Hydrogen framework. Here’s an example command:
npx create-hydrogen@latest - Choose Options for Your Project: You can decide whether to use sample data or link it directly to your Shopify store. Follow the on-screen prompts and log in if necessary.
- Scaffold Your Project: Complete the setup by providing the necessary options that define your storefront’s structure, including TypeScript support if desired.
Step 3: Testing Locally
After completing the setup, testing your storefront locally is crucial.
- Run the development server: Execute the command:
npm run dev
Note: The initial start can take some time as the server is set up. - Check the local environment: Visit your local development URL (usually http://localhost:3000) to see your storefront in action. Make any adjustments as necessary by testing product integrations and interface components. You can add or remove product variations to ensure your store reflects changes.
Deploying Your Storefront to Shopify Oxygen
Step 4: Deploying to Oxygen

Once you’re satisfied with the local setup:
- Deployment Command: In the terminal, enter:
npx shopify hydrogen deploy - Select Environment: Choose whether to deploy to a staging (preview) environment or directly to production, depending on your goals. If you want to show stakeholders a preview, select the preview option.
- Build and Upload: Allow the process to finish. Once completed, you should receive a link to your deployed storefront on Shopify Oxygen.
Setting Up GitHub CI/CD for Future Deployments

Step 5: Integrating with GitHub
For streamlined deployments in a collaborative environment, GitHub integration enables an efficient CI/CD pipeline:
- Connect to GitHub: In your Shopify admin, head to Storefront > Oxygen > Deployments and connect your GitHub account with Shopify.
- Publish Your Branch: Ensure you publish your current working branch before initiating GitHub integration.
- Link Repositories: Sign into GitHub and select the relevant repository. Grant the necessary permissions for deployment links and collaboration.
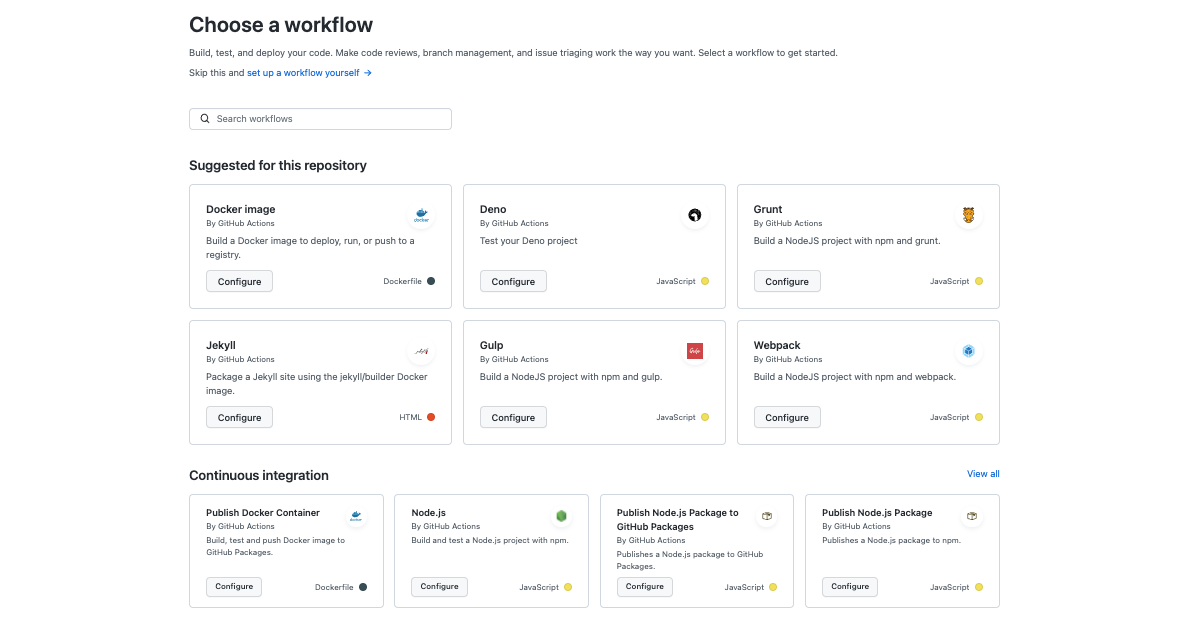
- Trigger Deployments: Once integrated, every change or commit pushed to your GitHub repository should automatically trigger a deployment to Oxygen based on the setup you’ve configured.
Step 6: Making Changes and Monitoring
- Making Adjustments: For example, if you want to change the text on a page, update the relevant section in your project’s code. Any modifications should follow the standard commit and push operations in Git.
- Monitor Deployments: Each commit should be viewable in the Shopify admin under the deployments section, showing both ongoing and completed deployments.
Conclusion
Setting up a Shopify Hydrogen storefront and deploying it using GitHub CI/CD is an intricate yet greatly rewarding process. With headless commerce, developers can create highly customizable and performance-optimized storefronts tailored to their clients’ specific needs. This tutorial guides you through the initial setup to go a step further by integrating with GitHub, paving the way for a streamlined collaborative development experience. As you grow your skills, consider exploring advanced features of Hydrogen and Oxygen for more complex implementations.
If you’ve found this guide helpful, feel free to share your thoughts or questions in the comments below. Let’s build something great together!
If you are looking for innovative and cost-effective ways to boost your online store, we have the right solutions. Contact Experts in Shopify for all kinds of Shopify assistance. We are an experienced e-commerce development company in UAE.


