Introduction
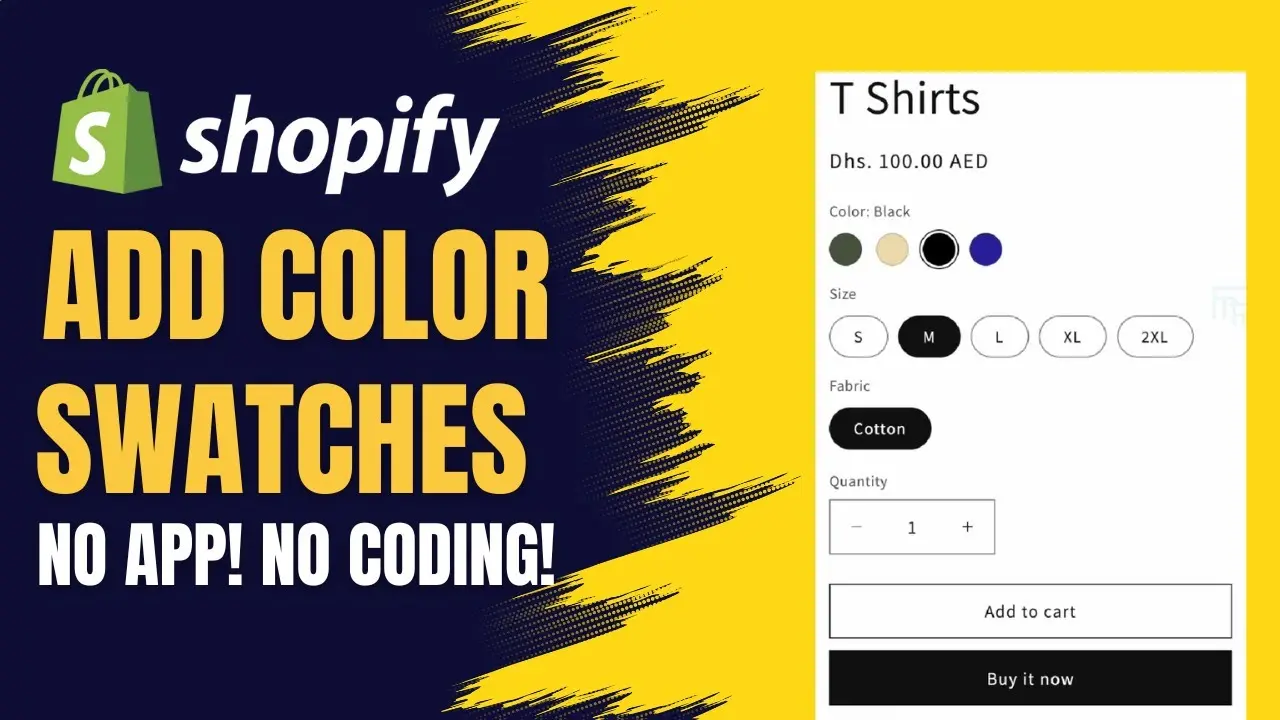
Learn how to add color swatches to your Shopify product pages effortlessly without using third-party apps or coding. This tutorial outlines the process from creating your product to mapping images and color options.
In this tutorial, we will learn how to add color swatches to your Shopify product pages without relying on any third-party applications or coding. The new feature from Shopify makes it more straightforward to enhance your product listings.
Getting Started
Before proceeding, log into your Shopify admin panel. Use these steps to create a new product and add color swatches:
for more insights, watch our latest tutorial “How to Add Color Swatches in Shopify (FREE – No Apps or Coding!) 2024 Tutorial“
Step 1: Add a New Product
- Go to the Products section from your Shopify admin.
- Click on the Add Product button.
- Create the product name. For example, we will use “T-shirt.”
Steps 2: Product Description and Category
- Shopify will generate an AI-created product description that effectively creates a description for a T-shirt.
- Shopify will automatically categorize a product under the description or the clothing category, in our case, “T-shirts.”
Step 3: Product Images
- Click Upload to add images of your product. For our T-shirt, we will be uploading images in different colors: green, beige, black, and navy.
Step 4: Set up Product Pricing
- Enter all the pricing details for your T-shirt
- Adding Color Swatches
You can add color swatches once you have set up the basic product details
Step 5: Access Meta Fields
- Scroll down until you find the Category Meta Fields area. There, you should be able to see the colors automatically generated by Shopify due to the images you’ve uploaded.
The colors are going to appear as follows: green, beige, black, and navy
Step 6: Customize Color Names
- If you want to rename any color, click on the color name, for example, green, and select the “Edit” option. You will be able to change the name to a more particular description, such as “Olive Green. “.
You can also customize the color code if needed.
Step 7: Select Sizes and Fabrics
- Select the available sizes for your T-shirt.
- If necessary, select the type of fabric as well. All these options will be reflected in the meta fields based on the category you selected.
Step 8: Add Options for Variants
- Scroll back up and click on Add Option to include size and color as variants.
- Select Color, and Shopify will grab the data from the meta fields for you.
- Repeat this step for size and any other attributes like fabric.
Steps 9: Save Your Change
- Make sure to add quantity to your product; otherwise, it will not show on the front end.
- Hit Save to complete your setup of the product.
Viewing Your Product
- So you want to see how the product will look to customers:
- You will see the product name, price, and color swatch.
- You will see the corresponding color name by clicking on each color swatch (e.g., Olive Green, Beige, Black, Navy).
Associating Images with Color Options
To make it more interactive for the user, you can associate a specific image with each color option:
- Return to the product setup page.
- Click on the image you want to associate with a particular color.
- Map the images accordingly (for example, Olive Green with the respective image).
- Click Save and refresh the page.
Now, upon a customer choosing the color, they’ll see their corresponding product image.
On that
Conclusion
Adding color swatches to your Shopify product pages is a straightforward process that can significantly improve the shopping experience for your customers. This feature, recently rolled out by Shopify, is available in the latest versions of various themes. If you have any questions or need further assistance, feel free to reach out best Shopify development partner for help. Happy selling!
Contact us:
visit : www.expertsinshopify.com/
+971554943599 / +971507080116


